Your Cart is Empty
accepting gear drop offs Mon-Sat 10am-5pm. No Consignment acceptance on Sundays.
accepting gear drop offs Mon-Sat 10am-5pm. No Consignment acceptance on Sundays.

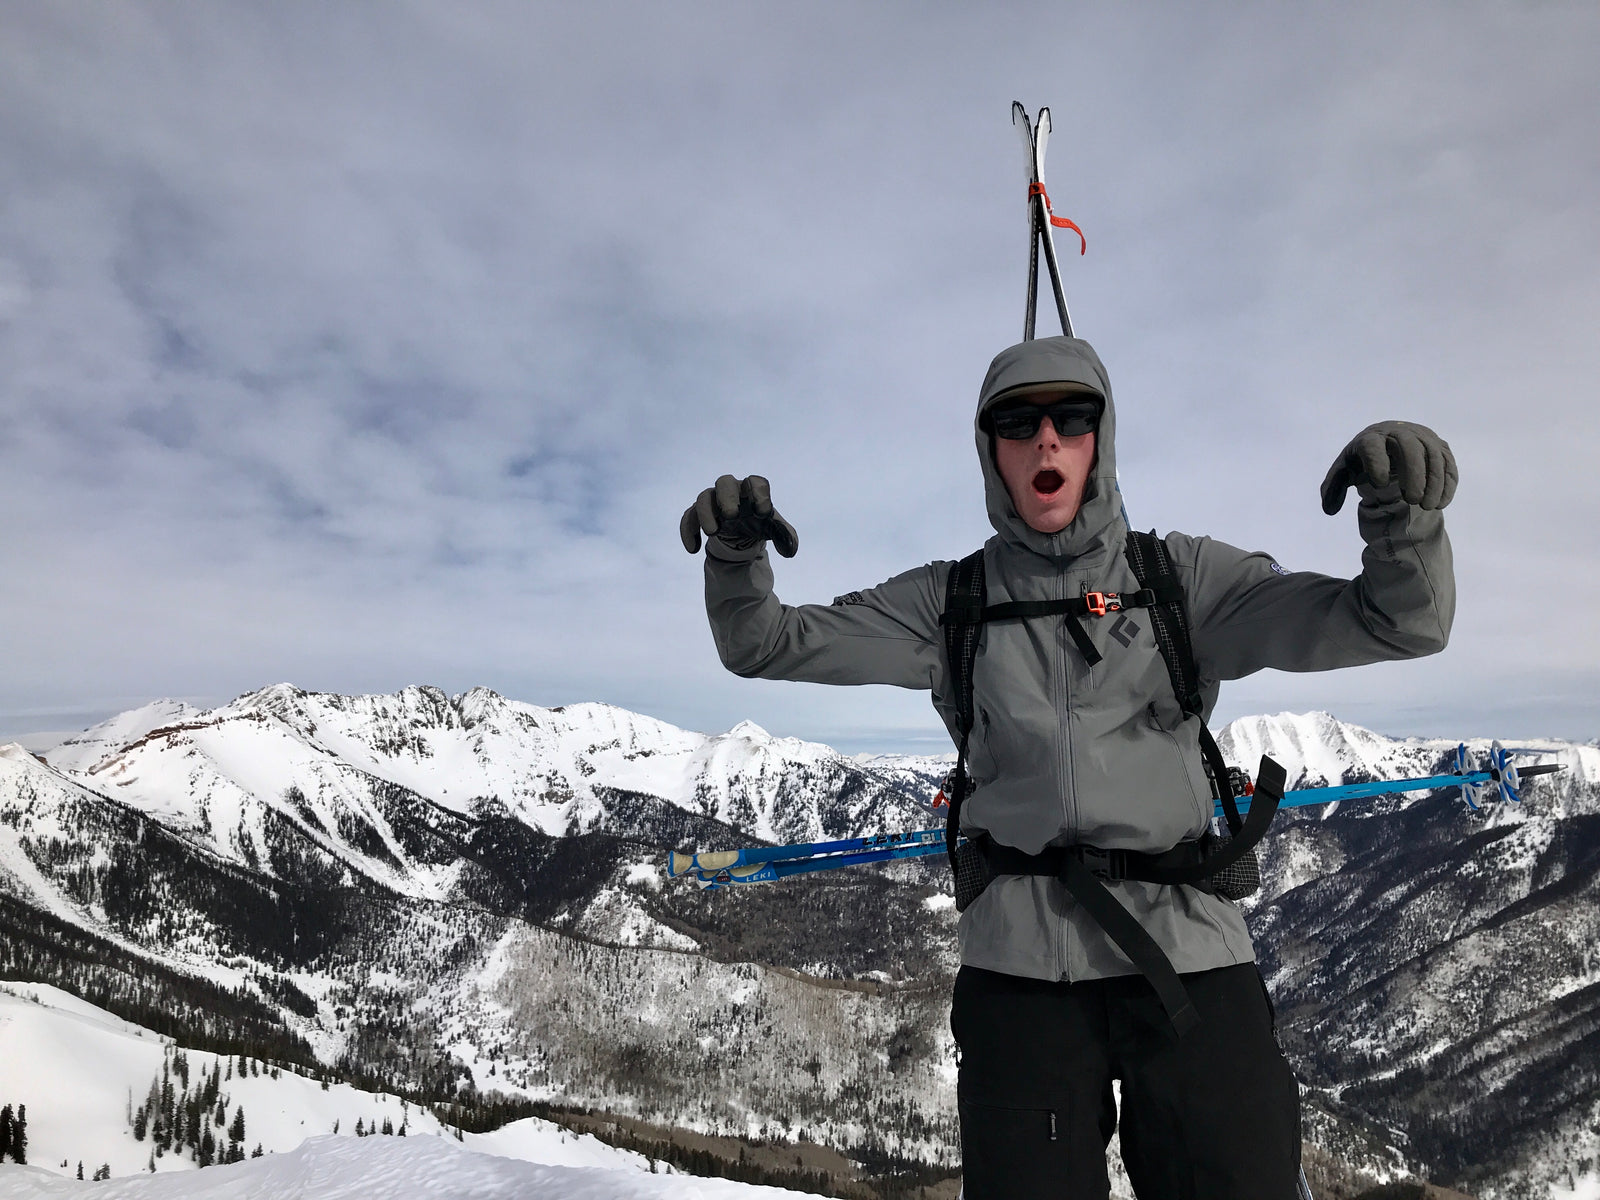
The San Juan Mountains are a skiers paradise in the winter. In addition to hosting several world-class ski resorts, the San Juans also contain some of the best backcountry ski touring in North America: we’ve got easy access to deep powder, steep chutes, and everything in between.
I’ve spent my fair share of time in the San Juan backcountry with skis on my feet, and through a long process of trial and error, I’ve dialed in a clothing and equipment system that works really well for me. Far from the trailhead, it is imperative that you are confident in your equipment.

First, I think it’s important to explain my overall philosophy for ski touring equipment, which is that a lighter pack translates directly to more fun skiing. It’s as simple as that. You can save weight by spending a ton of money on the best and lightest equipment, or you can be deliberate with your equipment choices, and just bring less stuff.
For example, let’s say that your heavy down insulated jacket weighs two pounds. It’s an older style, and it’s not particularly light. You want to invest a couple hundred bucks in a new, lightweight model, which at 14 ounces will save over a pound of weight from your pack. But maybe, on a typical day, you bring two liters of water with you. Each liter weighs 2.2 pounds. Have you ever finished two liters of cold water while standing in the snow? I sure haven’t. Save the money you would have spent on your new jacket, drink water on the way to and from the trailhead, and ditch one bottle out of your backpack. You’ve saved even more weight without spending a dime. If you are realistic with yourself, you can eliminate some of these ‘just-in-case’ items, like extra food and water, or your third pair of gloves, without sacrificing much comfort, and while significantly increasing the fun factor because you’ll be carrying less.
That being said, there are a couple absolutely essential safety tools that you need to carry every time you go backcountry skiing, and a few comfort items that can make or break your day. It’s all about finding a balance between preparedness and pack weight. In the next two posts, I’ll explain how my gear and clothing system works to maximize functionality with a minimum of items, and hopefully you’ll be able to apply some lessons the next time you go ski touring.
The Pack
Part I: Equipment
Around 30 liters is the perfect size for day touring in the San Juans. I typically alternate between two backpacks: one with an avalanche airbag, and one without. While an airbag isn’t required equipment for backcountry skiing, I find that it gives me some peace of mind for midwinter powder skiing, when persistent slab instabilities often lurk deep in the snowpack. But when I am planning on just skiing low-angle terrain, or in the springtime when our snowpack is more predictable, I prefer to save the 7+ pounds of weight and ski without my airbag backpack.
Your ski pack doesn’t need to be ski-touring specific, but there are some features in skiing packs that can make your day a lot more comfortable. Look for a backpack that has ski- or board-carrying straps, a good comfortable hip belt, and sleeves to hold your probe and shovel. I ski with a BCA Float 32 pack the majority of the winter, and I love how the dedicated avalanche tools pocket makes it easy to quickly dig a pit and check out the snowpack without getting snow on everything in my pack when I put my shovel and probe away. The big hipbelt pockets are also useful for ski straps, snacks, and sunscreen.

For the springtime, or low-angle skiing days, I prefer my non-airbag pack to be as light as possible. My current go-to is the Hyperlite Mountain Gear Ice Pack 3400. I love the simplicity of just having one huge compartment, and the roll-top design keeps my gear dry even in soggy spring conditions. It also has a simple but very effective external carry system for my crampons and ice axe, essential tools for spring couloir skiing.
Rescue & Safety Gear
A quality metal shovel with a collapsible handle is a must for ski touring. A probe pole, designed specifically for avalanche rescue, is also critical. The third piece of the trifecta is an avalanche beacon. I won’t go into too much detail here, but if you don’t know how to use these items, you should seek out avalanche education in your area. Here in the San Juans, a great place to start is by taking an awareness course with Friends of the San Juans – a local nonprofit that provides free avalanche education to new and experienced backcountry skiers. Although it is no substitute for in-person training, there is also an excellent series of videos on the BCA website.
Other rescue items to consider include a first aid kit, a repair kit, fire starters, a compact rescue sled or a sturdy tarp, navigation tools (GPS and/or map & compass) and some form of satellite communication. While every individual doesn’t need to carry all of these things, you should strive to have the full set distributed throughout your group. At a bare minimum I always carry a small first aid kit, fire starters, a compass, and a satellite messaging device.

Food and Water
It seems to me that most new backcountry skiers bring way more food and water than they will realistically consume while out touring. I think it is foolish to get back to the trailhead with food and water still in your pack. While it doesn’t work for everyone, my strategy is to bring just small amounts of food and water, and to eat and drink a lot before and after skiing. When I’m out in the cold I would rather keep moving than hang out to eat a snack.

The food that I do bring is typically some small, easy to eat ‘snack’ type items. On an average day I’ll probably have a small peanut butter sandwich, a few hard-boiled eggs, and maybe a small bag of gummy candy in my backpack – that’s it. This is a pretty light lunch menu for an active day, but again, it’s just a little boost to keep me going. I rectify the caloric deficit with a hearty breakfast and a big dinner when I get back home.
For hydration I follow similar logic. I have a hard time drinking cold water when I’m out in the winter weather, so I usually bring a small thermos of warm tea. 16oz is more than enough for me — I usually drink the last of my tea on top of our last run, which is perfect. For really long days in the springtime, I’ll add another half liter of water in an un-insulated bottle. If you’re super concerned about running out, you can add snow to your bottle and let it melt to stretch your water supply. But for the majority of individuals there’s no reason to go ski touring with two liters of water.
Misc.
I always ski with a helmet, in bounds or out. This is a personal choice, and many backcountry skiers choose to go without a helmet, often because they don’t want to carry a heavy helmet up the skintrack. Therefore, the lighter your helmet is, the more likely you’ll be to actually bring it. My current pick is the Smith Maze, which at 12 ounces is one of the lightest snowsports helmets on the market. The good news is that lighter, simpler helmets without lots of fancy features are also usually cheaper than the heavier high-end models.

I rarely wear goggles skiing in the backcountry, but I almost always bring a pair in my pack. Unless it is truly dumping snow, sunglasses are more than adequate protection for most backcountry skiing; they also don’t fog up as easily as goggles when you’re working hard skiing deep powder. But it is important to have some goggles on hand in case it gets extremely windy or very cold; I usually keep a low-light lens on my goggles when I’m touring, because if I have them on it means that the weather has taken a turn for the worse.
In warm spring conditions, I like to toss a nylon scraper and some rub-on glide wax (the kind that XC skiers use) into my pack. When hot spring snow turns your ski bases into snow-caked monstrosities, the scraper and glide wax will keep you moving.
I also keep a headlamp, a small sunscreen stick, a notebook, and an inclinometer in the accessory pockets of my pack. As you gain more training and experience with snow study, you’ll probably want to add a folding ruler, a crystal card and loupe, a Rutschblock cord, and a few thermometers. If that last sentence sounds like a foreign language to you, you can take a Level 2 avalanche course to learn all about snow study tools and techniques.
Why should you care about dialing in your kit? So you can have more days like this one:
https://www.youtube.com/watch?v=fT7OsLEvHdI&feature=youtu.be
That’s what it’s all about! I’ll be back next week with Part II of this post, discussing the clothing systems that I wear ski touring in the San Juan mountains.
ABOUT the AUTHOR
Carl is a guide and educator based in Southwest Colorado. He is happiest when pushing his comfort zone in wild places. More information about Carl is available at www.carlschnitker.com

Thanksgiving is almost here–and skiing this early is always a gamble. Here are some non-skiing warm(er) weather destination ideas for the long break.

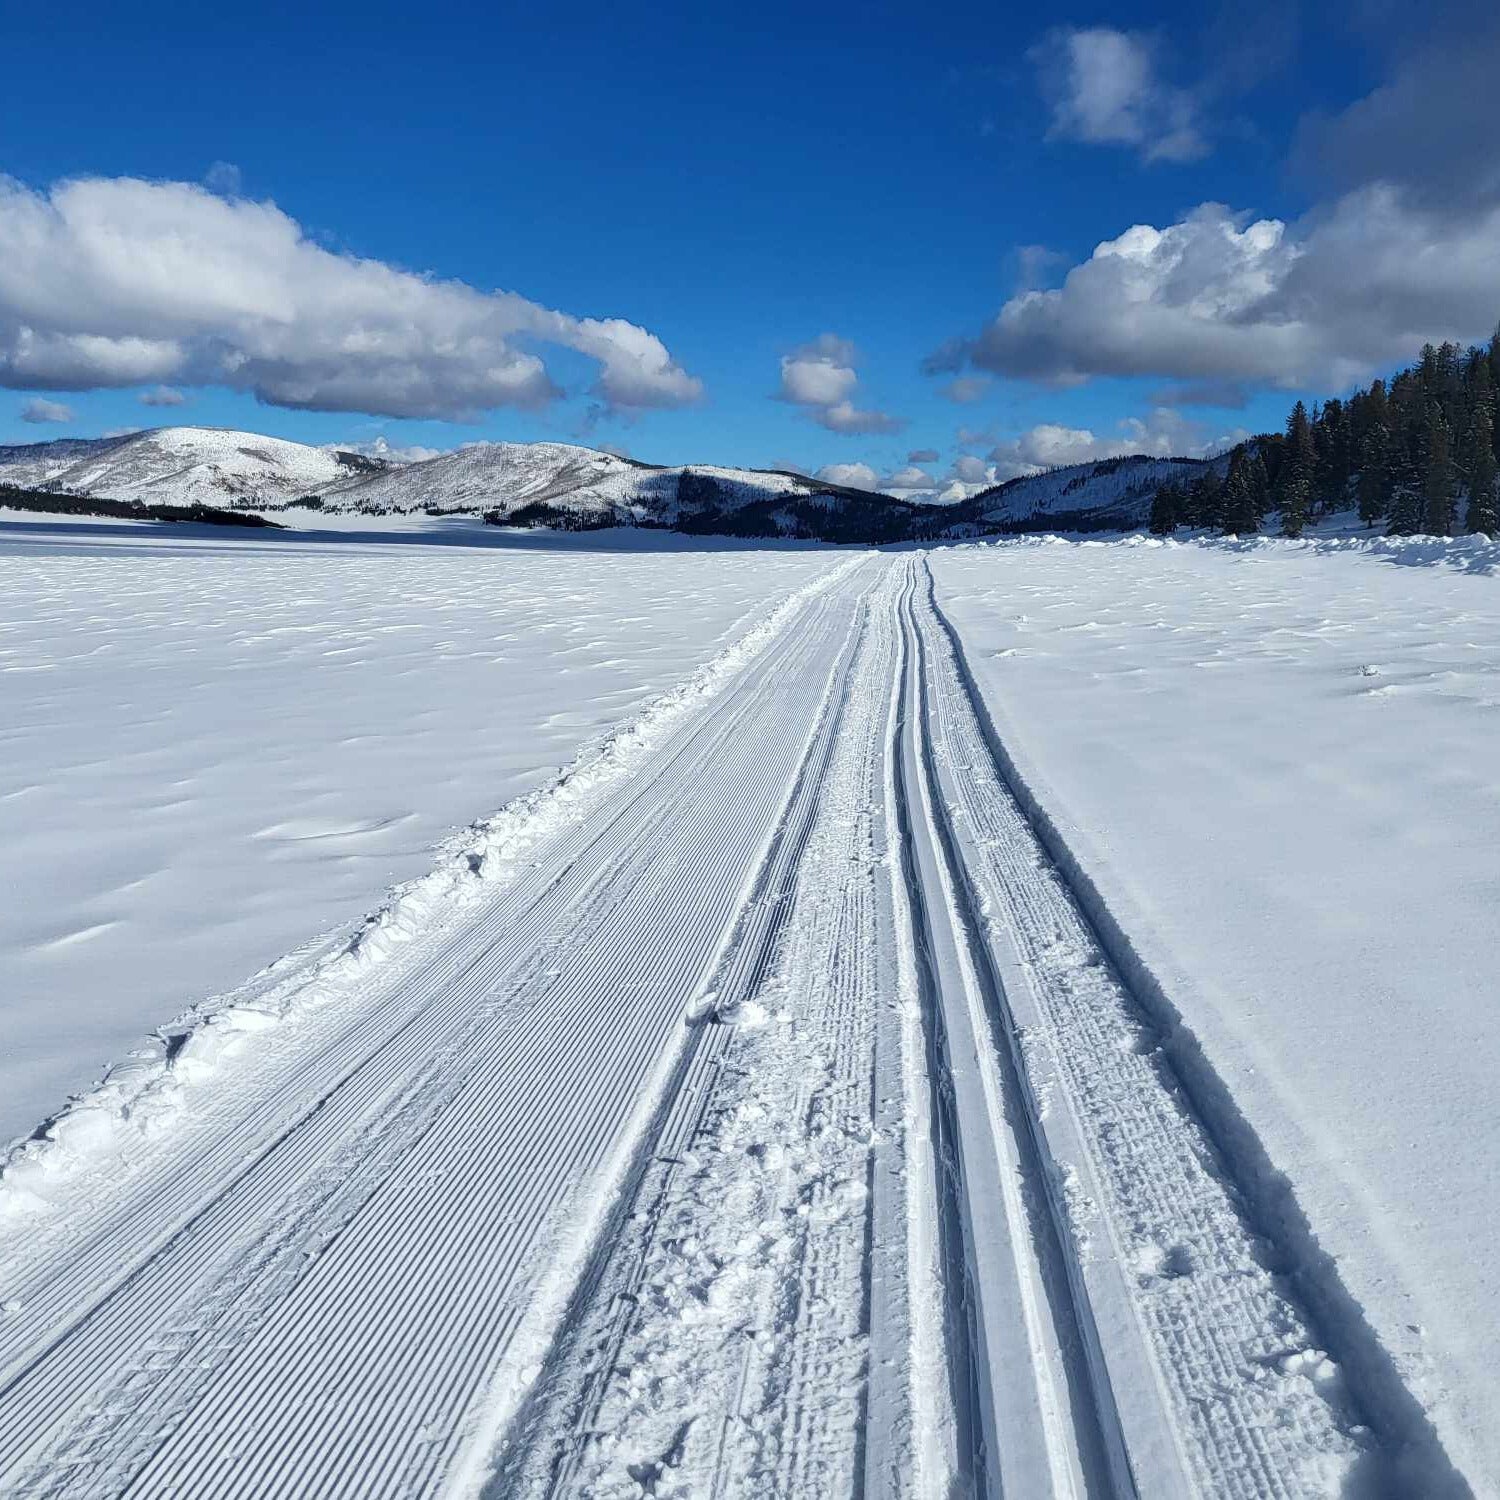
Just a couple hours from Durango, Valles Caldera is a great cross-country skiing destination, with surprisingly good snow and very few visitors.
Valles Caldera National Preserve is a popular hiking destination in the summer and a surprisingly great skiing destination in the winter.

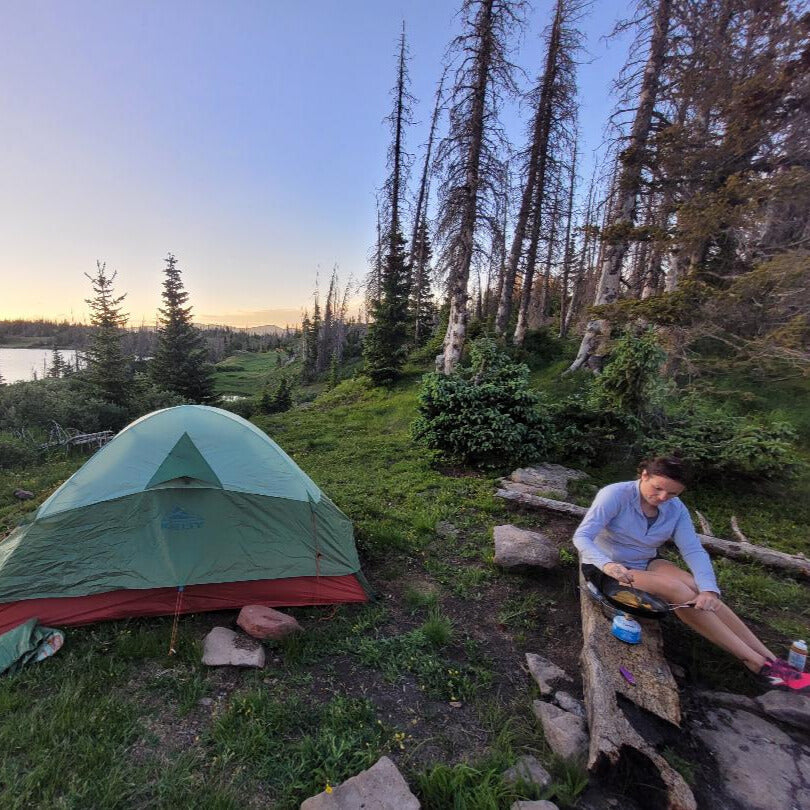
When spending one night (or many) in the backcountry, a warm dinner at night and hot beverage in the morning can make the difference. That invariably involves using a stove of some sort–but which one?
Stove technology has been around for decades, but new tech is making them lighter, more efficient, and more dependable than ever before. Here’s a rundown of the different kinds of backpacking stoves: